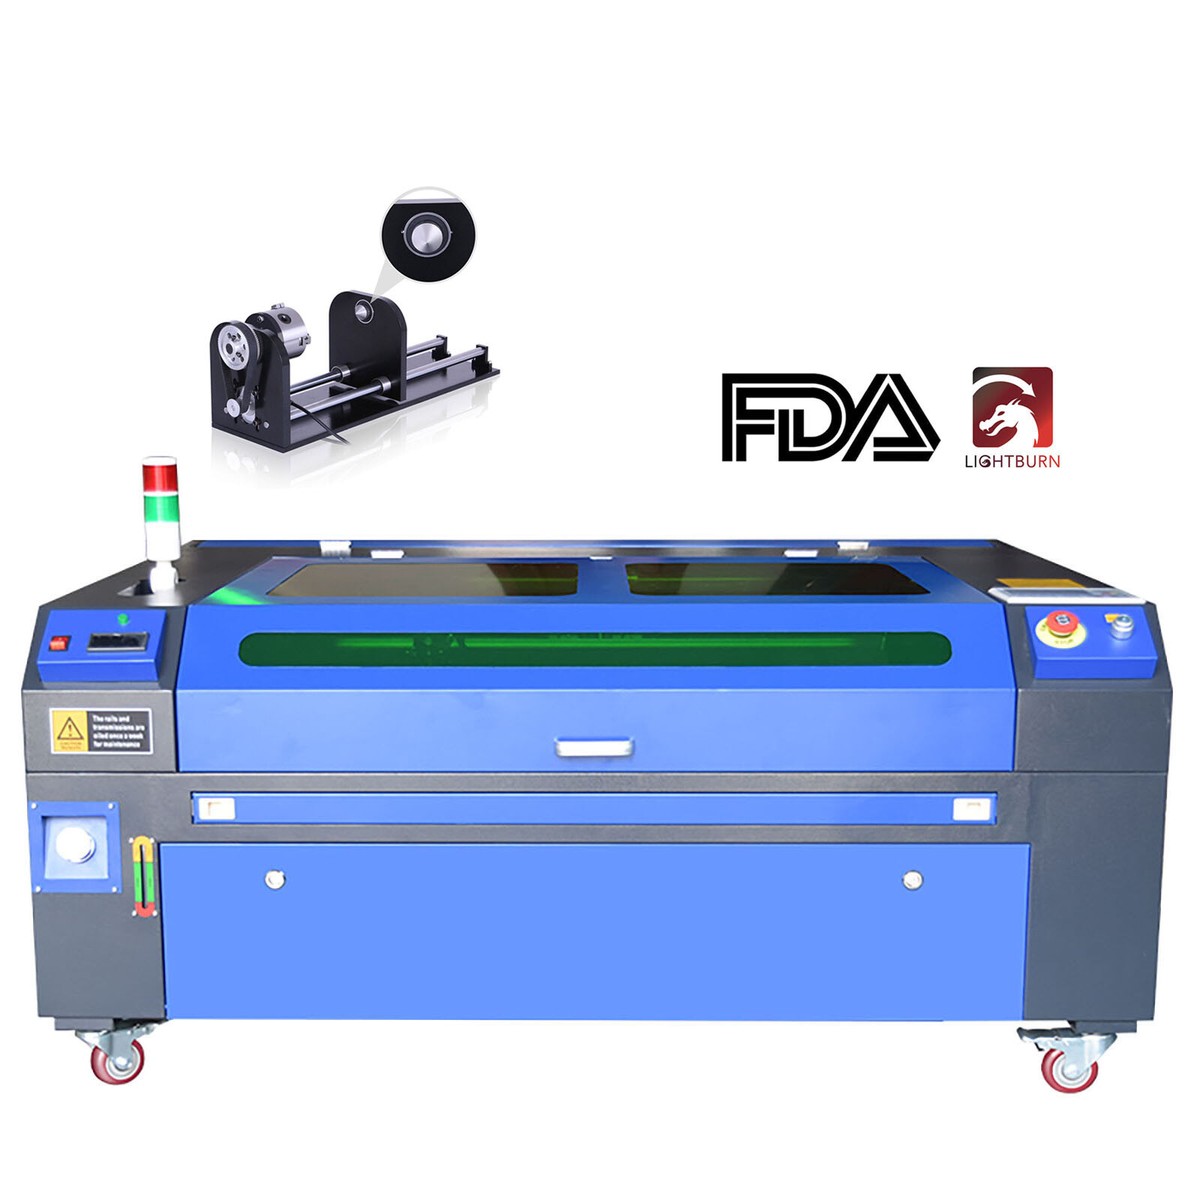
CO2 Laser Engraver With Rotary: A Guide to Engraving Cylindrical Objects
A CO2 laser engraver with a rotary attachment can mark designs on the curved surfaces of items such as tumblers, glasses, bottles, and cylindrical containers. The rotary device turns the object as the laser works, helping the design follow its surface instead of being engraved on a flat plane.
Whether you run a small customization business or want to expand your workshop, understanding how rotary engraving works can help you choose compatible equipment, prepare your projects, and get more consistent results.
What Is a Rotary Attachment?
A rotary attachment is an accessory that rotates an object beneath the laser head. The engraver coordinates the rotation with the movement of the laser so that an image or text can be applied around the object’s circumference.
Most rotary attachments use one of two designs:
- Roller rotary: The object rests on motorized rollers that turn it. This style is often convenient for straight-sided tumblers, glasses, and bottles.
- Chuck rotary: A chuck grips the object and rotates it. This design can provide a firm hold for smaller, tapered, or irregularly shaped pieces, depending on the attachment.
Some machines connect the rotary to a dedicated rotary port, while others require a motor or axis connection. Check the engraver and rotary specifications to confirm compatibility before purchasing.
What Can You Engrave?
CO2 lasers are commonly used with nonmetal materials. With a suitable rotary setup, they can engrave or mark a variety of cylindrical items, including:
- Wooden cups, handles, and containers
- Acrylic cylinders and select plastic items rated for laser processing
- Glassware, such as drinking glasses and bottles
- Leather or coated materials, when the material is safe for laser use
- Painted or coated drinkware, where the laser removes or changes the surface coating
CO2 lasers generally do not engrave bare metal directly. Some coated or treated metals can be marked, but results depend on the material and finish. Always verify material compatibility with the manufacturer, and never laser unknown plastics or coatings. Some materials can release hazardous fumes.
How Rotary Engraving Works
With flat engraving, the laser moves across a stationary workpiece. With rotary engraving, the machine also turns the object. The design software and machine settings must account for the rotary’s movement so that the artwork is not stretched, compressed, or misaligned.
Before engraving, measure the object and enter the correct rotary settings in your software. Depending on the machine, you may need to specify the object’s diameter or circumference, roller dimensions, or steps per rotation. Follow the setup instructions for your specific engraver and attachment.
Basic Setup and Preparation
- Confirm compatibility. Check that the rotary works with your engraver, controller, and software.
- Prepare the object. Remove labels and residue, and make sure the surface is clean and dry.
- Position the rotary. Install it according to the manufacturer’s instructions and secure the object so it cannot slip.
- Level the work surface. Keep the engraving area as level as possible. On roller-style attachments, adjust the rollers for the object’s shape and diameter.
- Set focus and artwork dimensions. Focus the laser on the surface and size the design for the intended engraving area.
- Check alignment. Use the machine’s framing or preview function, if available, to make sure the design will land in the right place.
- Run a test. Test settings on a similar piece or an inconspicuous area before engraving the final item.
Tips for Better Results
- Start with a simple design and a test piece while learning how your rotary behaves.
- Make sure the object is centered and stable. Slippage can cause uneven or doubled artwork.
- For tapered objects, check that the surface remains aligned with the laser’s focal plane throughout the engraving area.
- Use material-specific power and speed settings, and adjust them gradually based on test results.
- Keep the design within the usable engraving area and avoid placing important details near the edges of a curved surface.
- For glass, use appropriate settings and follow the glass and laser manufacturers’ guidance. Glass can behave differently by type and shape.
Safety Considerations
CO2 laser engraving requires appropriate safety precautions. Operate the machine with its enclosure and interlocks in place, use suitable exhaust ventilation, and follow the manufacturer’s instructions. Never leave an operating laser unattended, since some materials can ignite. Keep a suitable fire extinguisher nearby, and do not process materials unless their laser safety is known.
Glass and other fragile items can break if they are not secured properly. Handle finished pieces carefully, and inspect them before use—especially if they will come into contact with food or drink.
Choosing a CO2 Laser Engraver With a Rotary
When comparing machines, consider the rotary’s compatibility, the size and shape of the objects you plan to engrave, software support, available work area, and the machine’s ventilation and safety features. A rotary attachment can open up new project options, but good results depend on proper alignment, secure workholding, suitable settings, and testing.
With the right equipment and preparation, a CO2 laser engraver with a rotary can help turn ordinary cylindrical items into customized products for gifts, branding, events, and personal projects.
9 Essential Tips for Using a CO₂ Laser Engraver with Rotary Attachment
- Use a rotary attachment designed for your CO₂ laser.
- Disable the Y-axis before connecting the rotary.
- Enter the correct object diameter in your software.
- Level and secure the item to prevent slipping.
- Focus the laser on the curved surface.
- Run a low-power test to check alignment.
- Adjust speed and power for your material.
- Keep the rotary cable clear of moving parts.
- Use proper ventilation and never leave the laser unattended.
Use a rotary attachment designed for your CO₂ laser.
Use a rotary attachment designed for your CO₂ laser to help ensure it works properly with your machine’s motor, controller, and engraving software. A compatible rotary makes it easier to position and rotate cylindrical items such as tumblers, glasses, and bottles, reducing the risk of slipping or uneven engraving. Before starting a project, check the manufacturer’s instructions, secure the item, and test the setup on a spare piece.
Disable the Y-axis before connecting the rotary.
Before connecting a rotary attachment to a CO2 laser engraver, disable the Y-axis in the machine’s software or controller settings, following the manufacturer’s instructions. Many rotary attachments use the Y-axis connection to control rotation, so leaving the regular Y-axis active may cause unexpected movement or interfere with engraving. Power down the machine before plugging in the rotary, then select the correct rotary settings and test the setup safely before starting a job.
Enter the correct object diameter in your software.
Enter the correct object diameter in your software before starting a rotary engraving job. This measurement helps the engraver coordinate the object’s rotation with the laser’s movement, so the design lands in the right proportions instead of appearing stretched or compressed. Measure the engraving area carefully, follow your machine’s setup instructions, and run a test on a similar item to check alignment before engraving the final piece.
Level and secure the item to prevent slipping.
Before engraving, make sure the item is level and firmly secured in the rotary attachment. Proper alignment helps keep the laser focused across the surface, while a stable grip prevents the object from slipping or shifting as it turns. Even slight movement can distort the design or leave uneven marks, so check that the item rotates smoothly and stays in position before starting the job.
Focus the laser on the curved surface.
Focus the laser on the object’s curved surface at the exact area you plan to engrave. Because the distance from the laser head can vary across a curve, position the workpiece carefully and check that the engraving area stays as level and consistently focused as possible. Proper focus helps produce sharper, more even results; run a small test first, especially on tapered or irregularly shaped items.
Run a low-power test to check alignment.
Before engraving your final design, run a low-power test to check alignment. Use the machine’s framing or preview function, or make a brief test mark on a sample piece, to confirm that the artwork is centered and positioned correctly on the curved surface. This quick check can help catch rotation or placement errors before they spoil your workpiece.
Adjust speed and power for your material.
Adjust the speed and power of your CO2 laser engraver to suit the material you’re working with. Different surfaces respond differently: too much power or a slow speed can cause scorching or excessive melting, while too little power or a fast speed may produce a faint, uneven engraving. Start with the material manufacturer’s recommendations, then run a test on a scrap piece or an inconspicuous area. With a rotary attachment, make sure the object is securely positioned and the settings produce consistent results around its curved surface.
Keep the rotary cable clear of moving parts.
Keep the rotary cable clear of moving parts before starting your engraving job. Route and secure it so it cannot catch on the rollers, chuck, laser head, or workpiece as the rotary turns. A snagged cable can interrupt the engraving, damage equipment, or create a safety hazard.
Use proper ventilation and never leave the laser unattended.
Always use proper ventilation when operating a CO2 laser engraver with a rotary attachment. Engraving can produce smoke, fumes, and particles, so use an effective exhaust system that vents safely and follow the machine manufacturer’s instructions. Never leave the laser running unattended; materials can overheat or catch fire. Stay nearby, monitor the job, and keep the machine’s safety features in place.
No Responses